Your morning routine feels off—but you can’t pinpoint why. Harsh overhead bulbs cast shadows under your eyes. Foggy reflections make grooming guesswork. And that “vintage” vanity light? It’s just outdated, not charming. The fix isn’t a new mirror—it’s led lighting for bathroom mirror done right. Not as an afterthought. As the foundation.
The Glaring Flaw in Traditional Bathroom Lighting
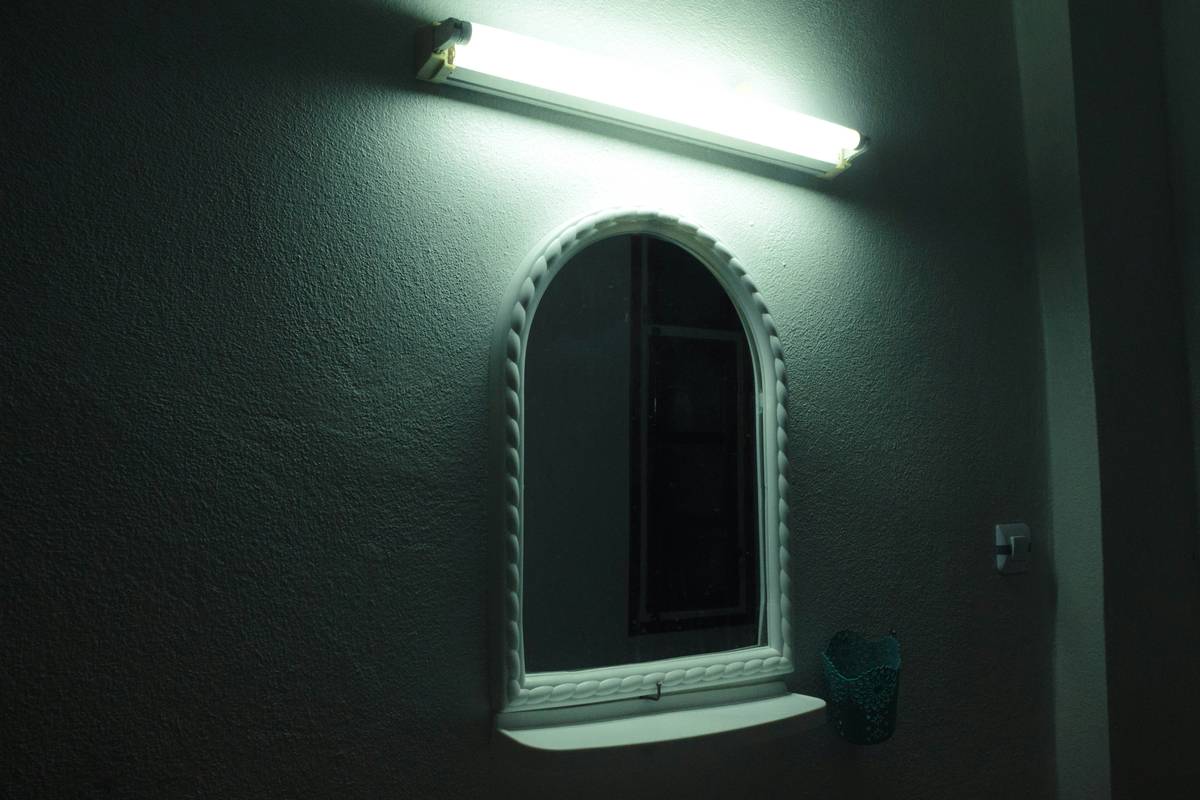
Most homes slap a pair of sconces on either side of the mirror and call it a day. Big mistake. Side-mounted fixtures create uneven vertical light—bright at cheekbones, dark at chin level. And ceiling-only lighting? It turns your face into a cave painting.
Here’s the reality: task lighting for grooming needs even, shadow-free illumination from front to back—not top to bottom. Standard bulbs also emit inconsistent color temperatures. One batch reads warm yellow; the next, sterile blue. Your skin tone shouldn’t be subject to a lighting lottery.
How to Install LED Lighting for Bathroom Mirror Like a Pro
Forget plug-in strips that peel off after two humid showers. Real integration requires planning, moisture resistance, and precision placement. Follow this battle-tested sequence.
Choose the Right LED Type
Not all LEDs are bathroom-safe. Look for IP44 or higher rating—this means splash-proof at minimum. And skip RGB gimmicks. For grooming, 2700K–3000K (warm white) gives the most natural skin rendering. CRI (Color Rendering Index) above 90 is non-negotiable.
Mounting Position Matters More Than Brightness
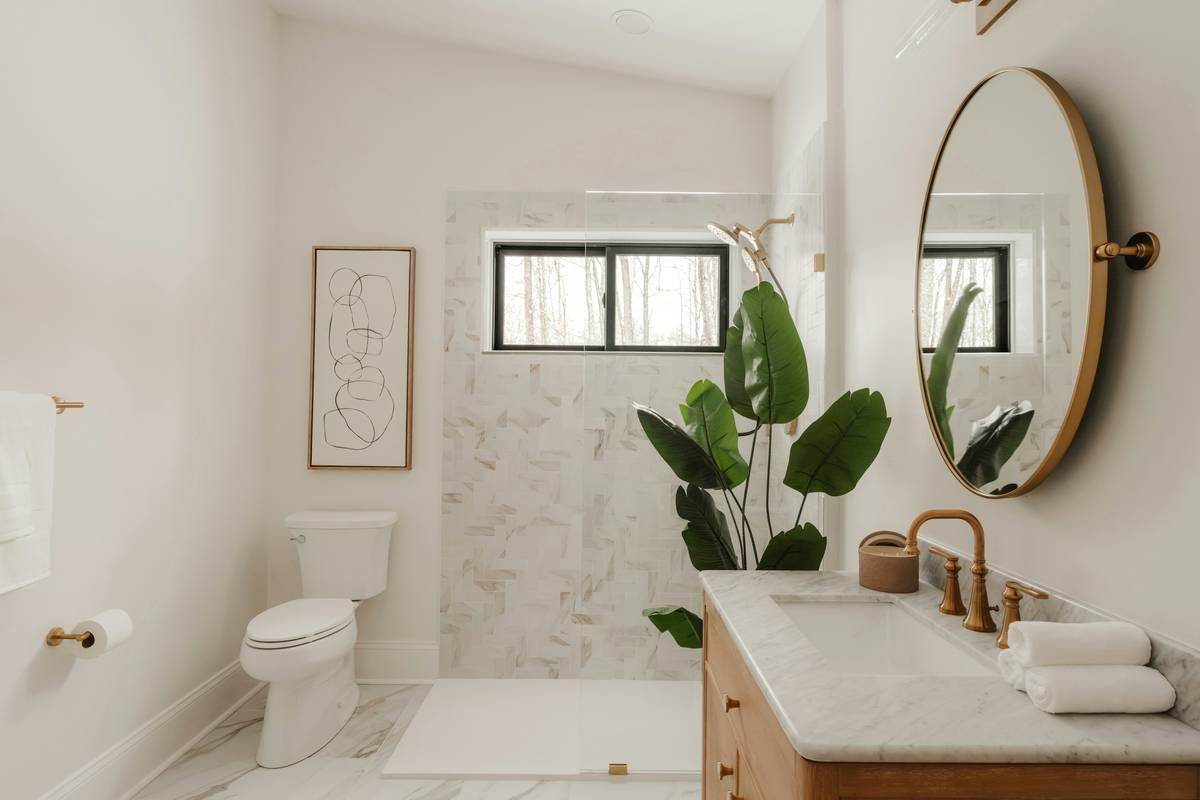
Brightness is easy—aim for 70–100 lumens per square foot of vanity area. But placement? That’s where amateurs fail. Horizontal strips mounted *behind* the mirror create halo glow—soft but indirect. Vertical strips along the sides mimic professional makeup mirrors. The winner? Front-facing linear LEDs recessed into the mirror frame. Direct, glare-free, and foolproof.
Wiring & Controls: Hardwired vs. Plug-In
Hardwired systems last longer and look cleaner—but require an electrician. Plug-in versions offer DIY simplicity but risk cord clutter. If you rent or lack access behind the wall, go with a hard-shell adapter that hides cords inside cabinetry. Never drape power cords across tile grout lines. Ever.
| Installation Method | Average Cost | Lifespan | Best For |
|---|---|---|---|
| Recessed Frame-Mounted LED (Hardwired) | $250–$600 | 50,000+ hours | Permanent renovations, high-end finishes |
| Adhesive Strip Behind Mirror | $30–$80 | 15,000–25,000 hours | Renters, quick upgrades |
| Integrated Smart Mirror w/ LEDs | $400–$1,200 | 30,000+ hours | Smart homes, fog-free tech lovers |
The Industry Secret No Contractor Will Admit
Here’s what lighting reps won’t tell you: most “bathroom-rated” LEDs fail within 18 months—not from water, but from thermal stress. Bathrooms swing from cold tile floors to steamy 100°F air in minutes. Cheap LEDs crack under that strain.
The workaround? Specify **aluminum-backed LED tapes** with silicone encapsulation. They dissipate heat better and flex with temperature shifts. Also—wire your LEDs to a separate dimmer circuit, not your main vanity switch. Why? Because running them at 80% brightness extends lifespan by 40%. The math is simple: lower heat = slower lumen depreciation. And nobody notices a 20% dimming if the light is perfectly positioned.
Frequently Asked Questions
Can I install LED lighting for bathroom mirror myself?
Yes—if using plug-in, low-voltage strips with IP44 rating. Hardwired setups require a licensed electrician due to proximity to water sources.
What color temperature is best for bathroom mirrors?
2700K to 3000K. Anything cooler than 3500K makes skin look washed out. Warmer tones flatter without distorting makeup or shaving lines.
Do LED mirrors prevent fogging?
Not inherently. But many integrated LED mirrors include built-in demisters—thin heating pads behind the glass that activate with the lights. Check specs before buying.